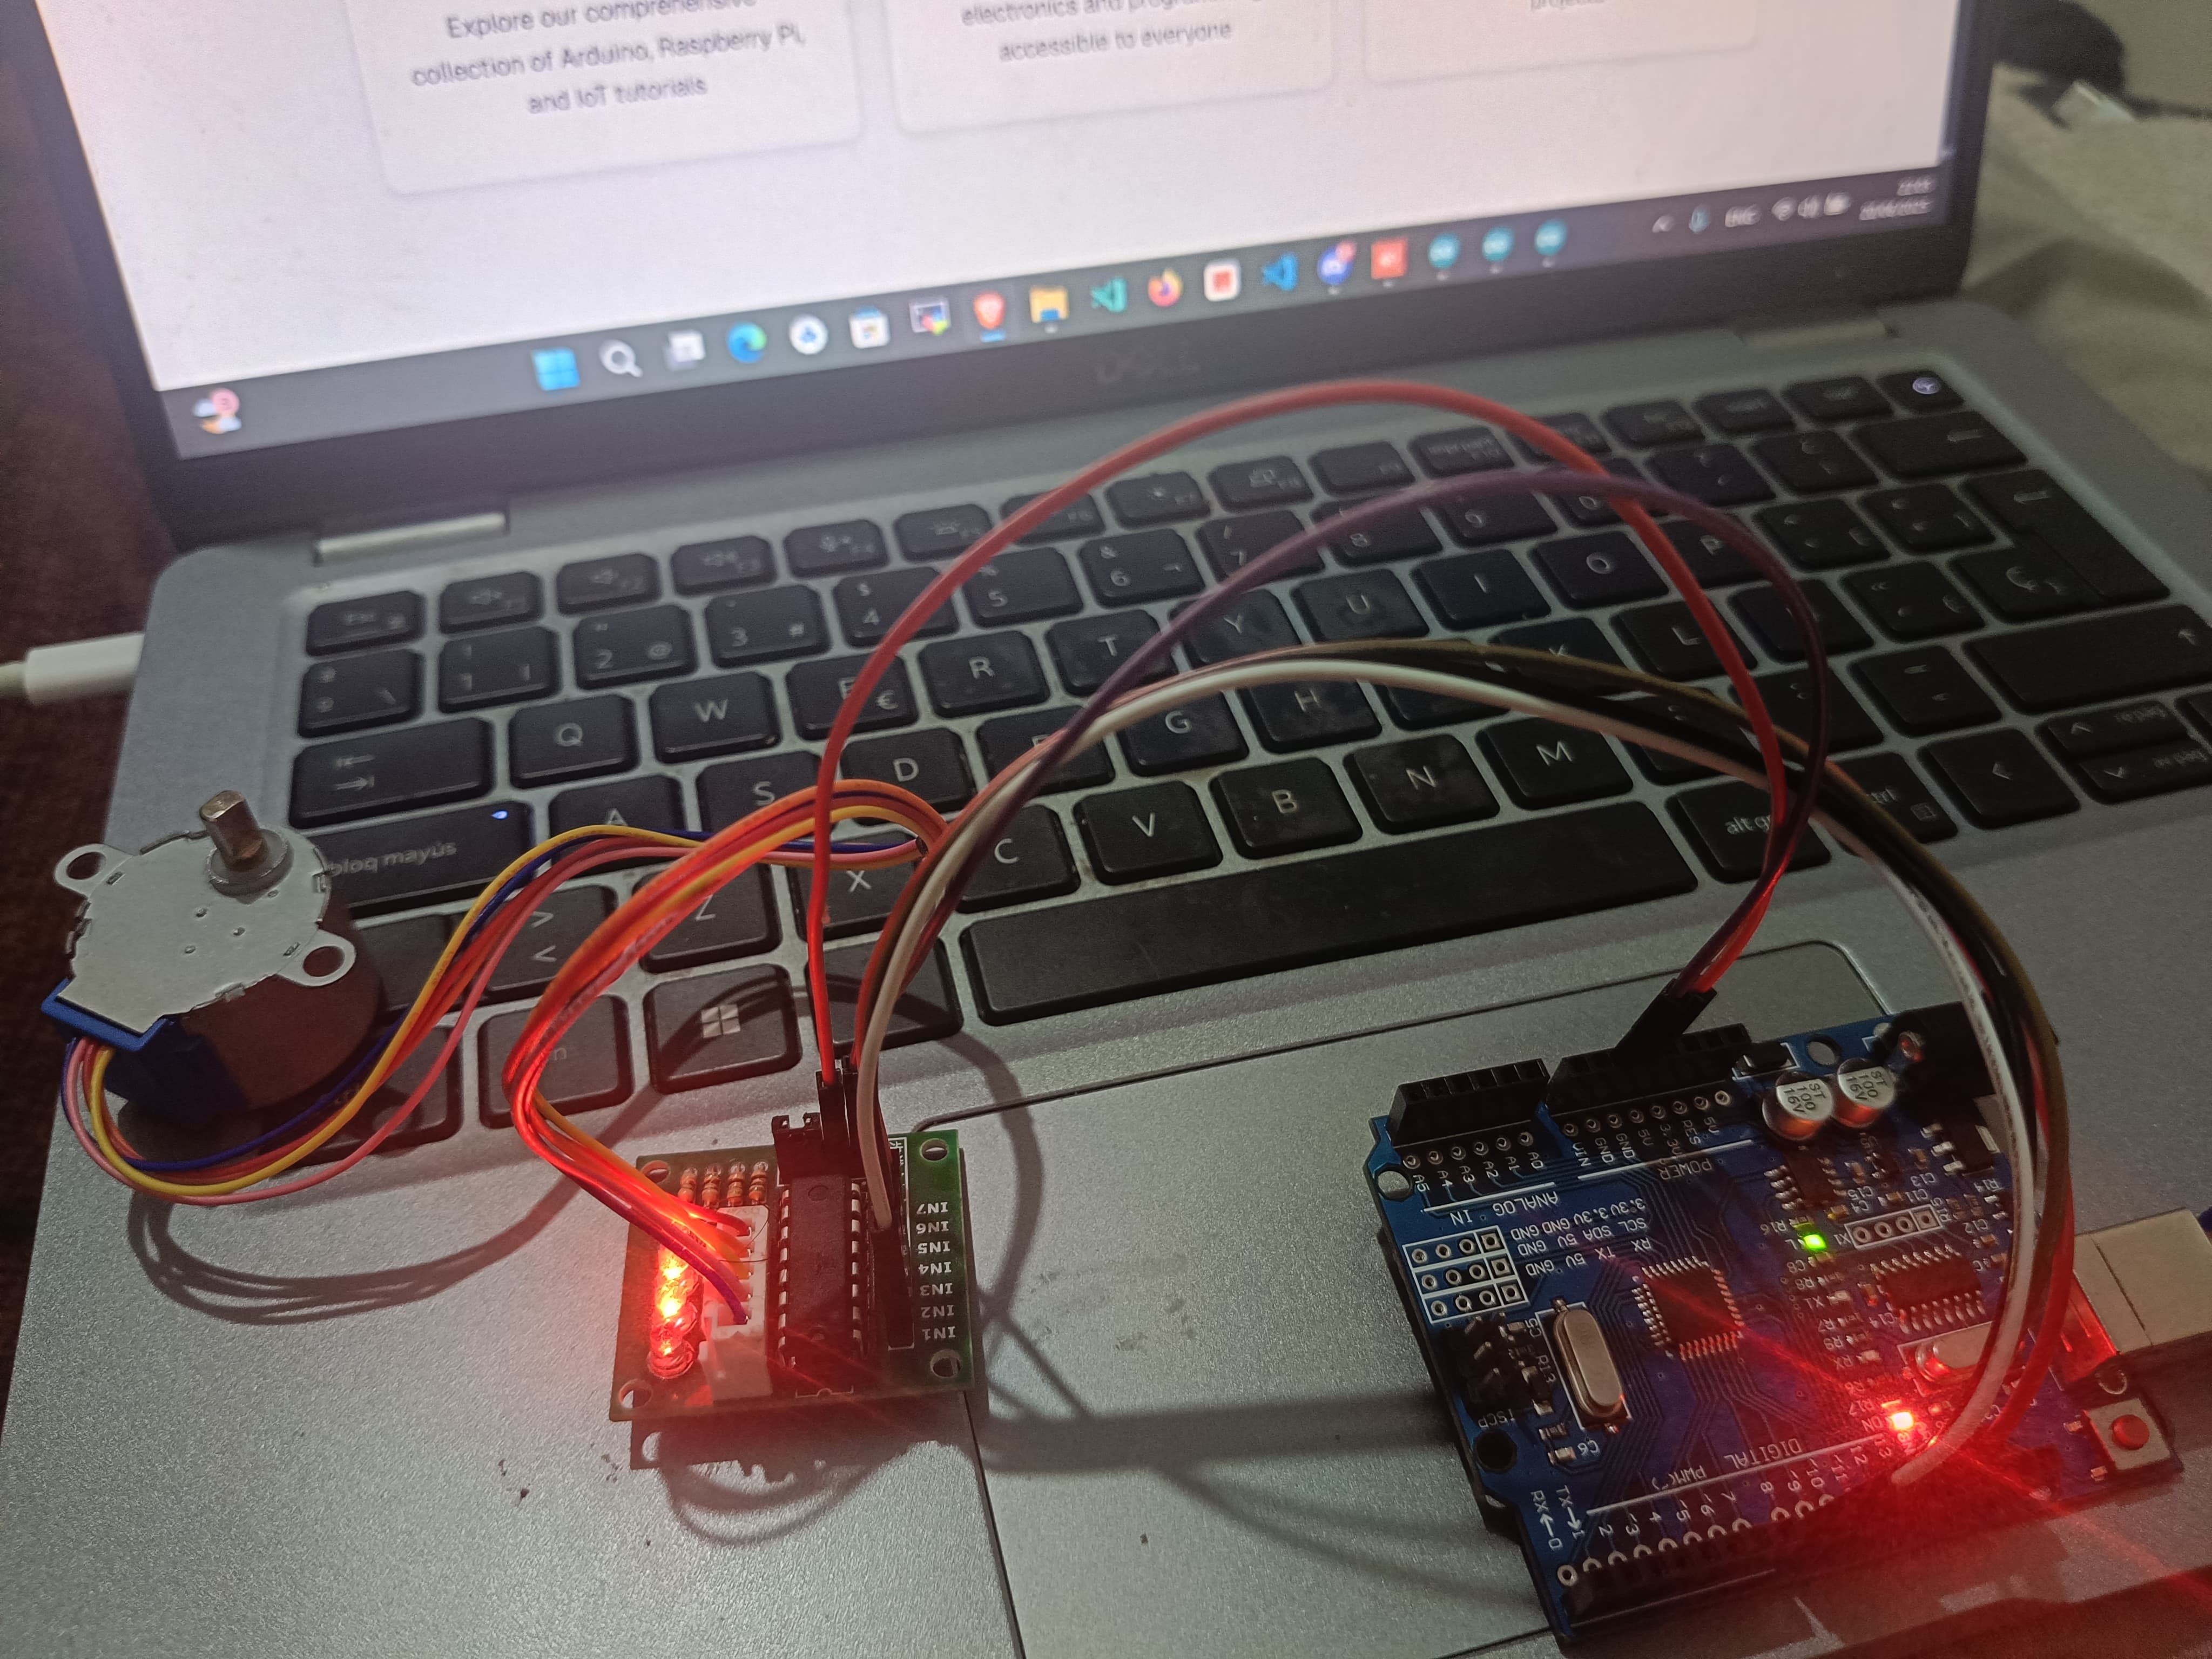
Master Precision Movement: A Guide to the 5V 28BYJ-48 Stepper Motor with ULN2003 Driver

The 28BYJ-48 stepper motor, paired with its ULN2003 driver, is a cornerstone component for electronics projects. 1 This guide takes you to the next level by showing you how to control the motor's speed in real-time using a potentiometer. This capability is essential for projects requiring dynamic adjustments, from robotics to automated systems.
This comprehensive guide will teach you to add a potentiometer to your circuit, wire all components correctly to an Arduino, and use a more advanced program to enable variable speed control.
Components and Tools Required
To complete this tutorial, you will need the following materials:
5V 28BYJ-48 Stepper Motor
ULN2003 Driver Module
An Arduino-type development board (e.g., Arduino Uno)
10kΩ Potentiometer
Jumper Wires
An external 5V power source (recommended for stable performance)
Detailed Wiring: Motor, Driver, Potentiometer, and Arduino
Connecting the components correctly is a critical step. Follow these instructions carefully.
Connect the motor to the driver: The 28BYJ-48 motor's 5-pin connector plugs directly into the corresponding port on the ULN2003 driver board. 2
Connect the driver to the Arduino: Use jumper wires to connect the driver's input pins (IN1, IN2, IN3, IN4) to the Arduino's digital pins. For this code, we use pins 8, 9, 10, and 11.
IN1 -> Arduino Pin 8
IN2 -> Arduino Pin 9
IN3 -> Arduino Pin 10
IN4 -> Arduino Pin 11
Connect the potentiometer to the Arduino:
Connect one of the outer pins to Ground (GND) on the Arduino.
Connect the other outer pin to 5V on the Arduino.
Connect the middle pin (the wiper) to analog pin A0 on the Arduino.
Power the ULN2003 driver: Connect the driver's power pins (+ and -) to your external 5V power source. Important: Also connect the Arduino's ground pin (GND) to the ground pin (-) of your power supply to create a common reference.
Programming for Speed Control
Once the wiring is complete, upload the following code to your Arduino. This program reads the value from the potentiometer to adjust the motor's speed.
Code Block Section
This code uses the potentiometer to dynamically set the motor's speed.
C++
#include <Stepper.h>

// --- Motor Configuration ---
// The 28BYJ-48 motor has gearing. The *effective* steps per revolution is often 2048.
// Check your motor's datasheet if it's not a 28BYJ-48.
const int stepsPerRevolution = 2048; // Adjust if needed

// Motor control pins connected to the ULN2003 driver
// The order 8, 9, 10, 11 is used for the correct sequence.
Stepper myStepper(stepsPerRevolution, 8, 9, 10, 11);

// --- Potentiometer Configuration ---
const int potPin = A0; // Analog pin for potentiometer

// --- Variables ---
int motorSpeed; // Motor speed in RPM

void setup() {
  // Initialize serial communication for debugging (optional)
  Serial.begin(9600);
  Serial.println("Stepper Motor Speed Control with Potentiometer");
}

void loop() {
  // 1. Read the potentiometer value
  int sensorValue = analogRead(potPin); // Value between 0 and 1023

  // 2. Map the potentiometer value to a speed range for the motor
  // NOTE: The 28BYJ-48 with Stepper.h library has a fairly low MAXIMUM speed (around 10-15 RPM).
  // Setting too high a value here won't make it faster, it might even stall.
  motorSpeed = map(sensorValue, 0, 1023, 0, 15); // Map 0-1023 to 0-15 RPM

  // Print values (optional for debugging)
  Serial.print("Pot Value: ");
  Serial.print(sensorValue);
  Serial.print("\t Motor Speed (RPM): ");
  Serial.println(motorSpeed);

  // 3. Control the motor if the speed is greater than 0
  if (motorSpeed > 0) {
    // Set the calculated speed
    myStepper.setSpeed(motorSpeed);
    // Make the motor take steps in one direction
    // Use 1 for one direction, -1 for the other.
    myStepper.step(100); // Rotates in one direction
                         // myStepper.step(-1); // To rotate other direction
  }
  // If motorSpeed is 0, not calling step() stops the motor.
  // The Stepper.h library doesn't actively hold the motor still when step() isn't called.
}
Code Explanation
potPin: This constant stores the analog pinA0where the potentiometer is connected.analogRead(potPin): In the main loop, this function reads the voltage from the potentiometer, returning a value between 0 and 1023.map(...): This crucial function converts the potentiometer's 0-1023 range into a suitable speed range for the motor, which is 0-15 RPM. The 28BYJ-48 cannot spin much faster than this with the standardStepper.hlibrary.if (motorSpeed > 0): This ensures the motor only tries to move if the potentiometer is turned up from zero. 3myStepper.setSpeed(motorSpeed): Sets the motor's speed based on the value calculated from the potentiometer.myStepper.step(100): This command tells the motor to move. By placing it in theloop(), the motor will turn continuously. The speed of this continuous rotation is determined by thesetSpeed()function.
Expected Outcome
After uploading the code, turning the potentiometer knob will directly control the speed of the motor's rotation. When the knob is turned fully to one side, the motor will be still. As you turn it the other way, the motor will begin to rotate, gradually increasing its speed until it reaches its maximum of about 15 RPM. You can observe the mapped values in the Serial Monitor if you enable it in the Arduino IDE.
Comments (0)
No comments yet. Be the first to comment!
Leave a Comment