How to Setup and Program ESP32: A Beginner's Guide
This guide provides a straightforward introduction to setting up and programming the ESP32, a powerful and versatile microcontroller. By following this tutorial, you will learn how to configure the Arduino IDE for ESP32 development and upload your first program.
What You'll Need
To get started, you will need a few key components. This section breaks down the hardware and software required for this tutorial.
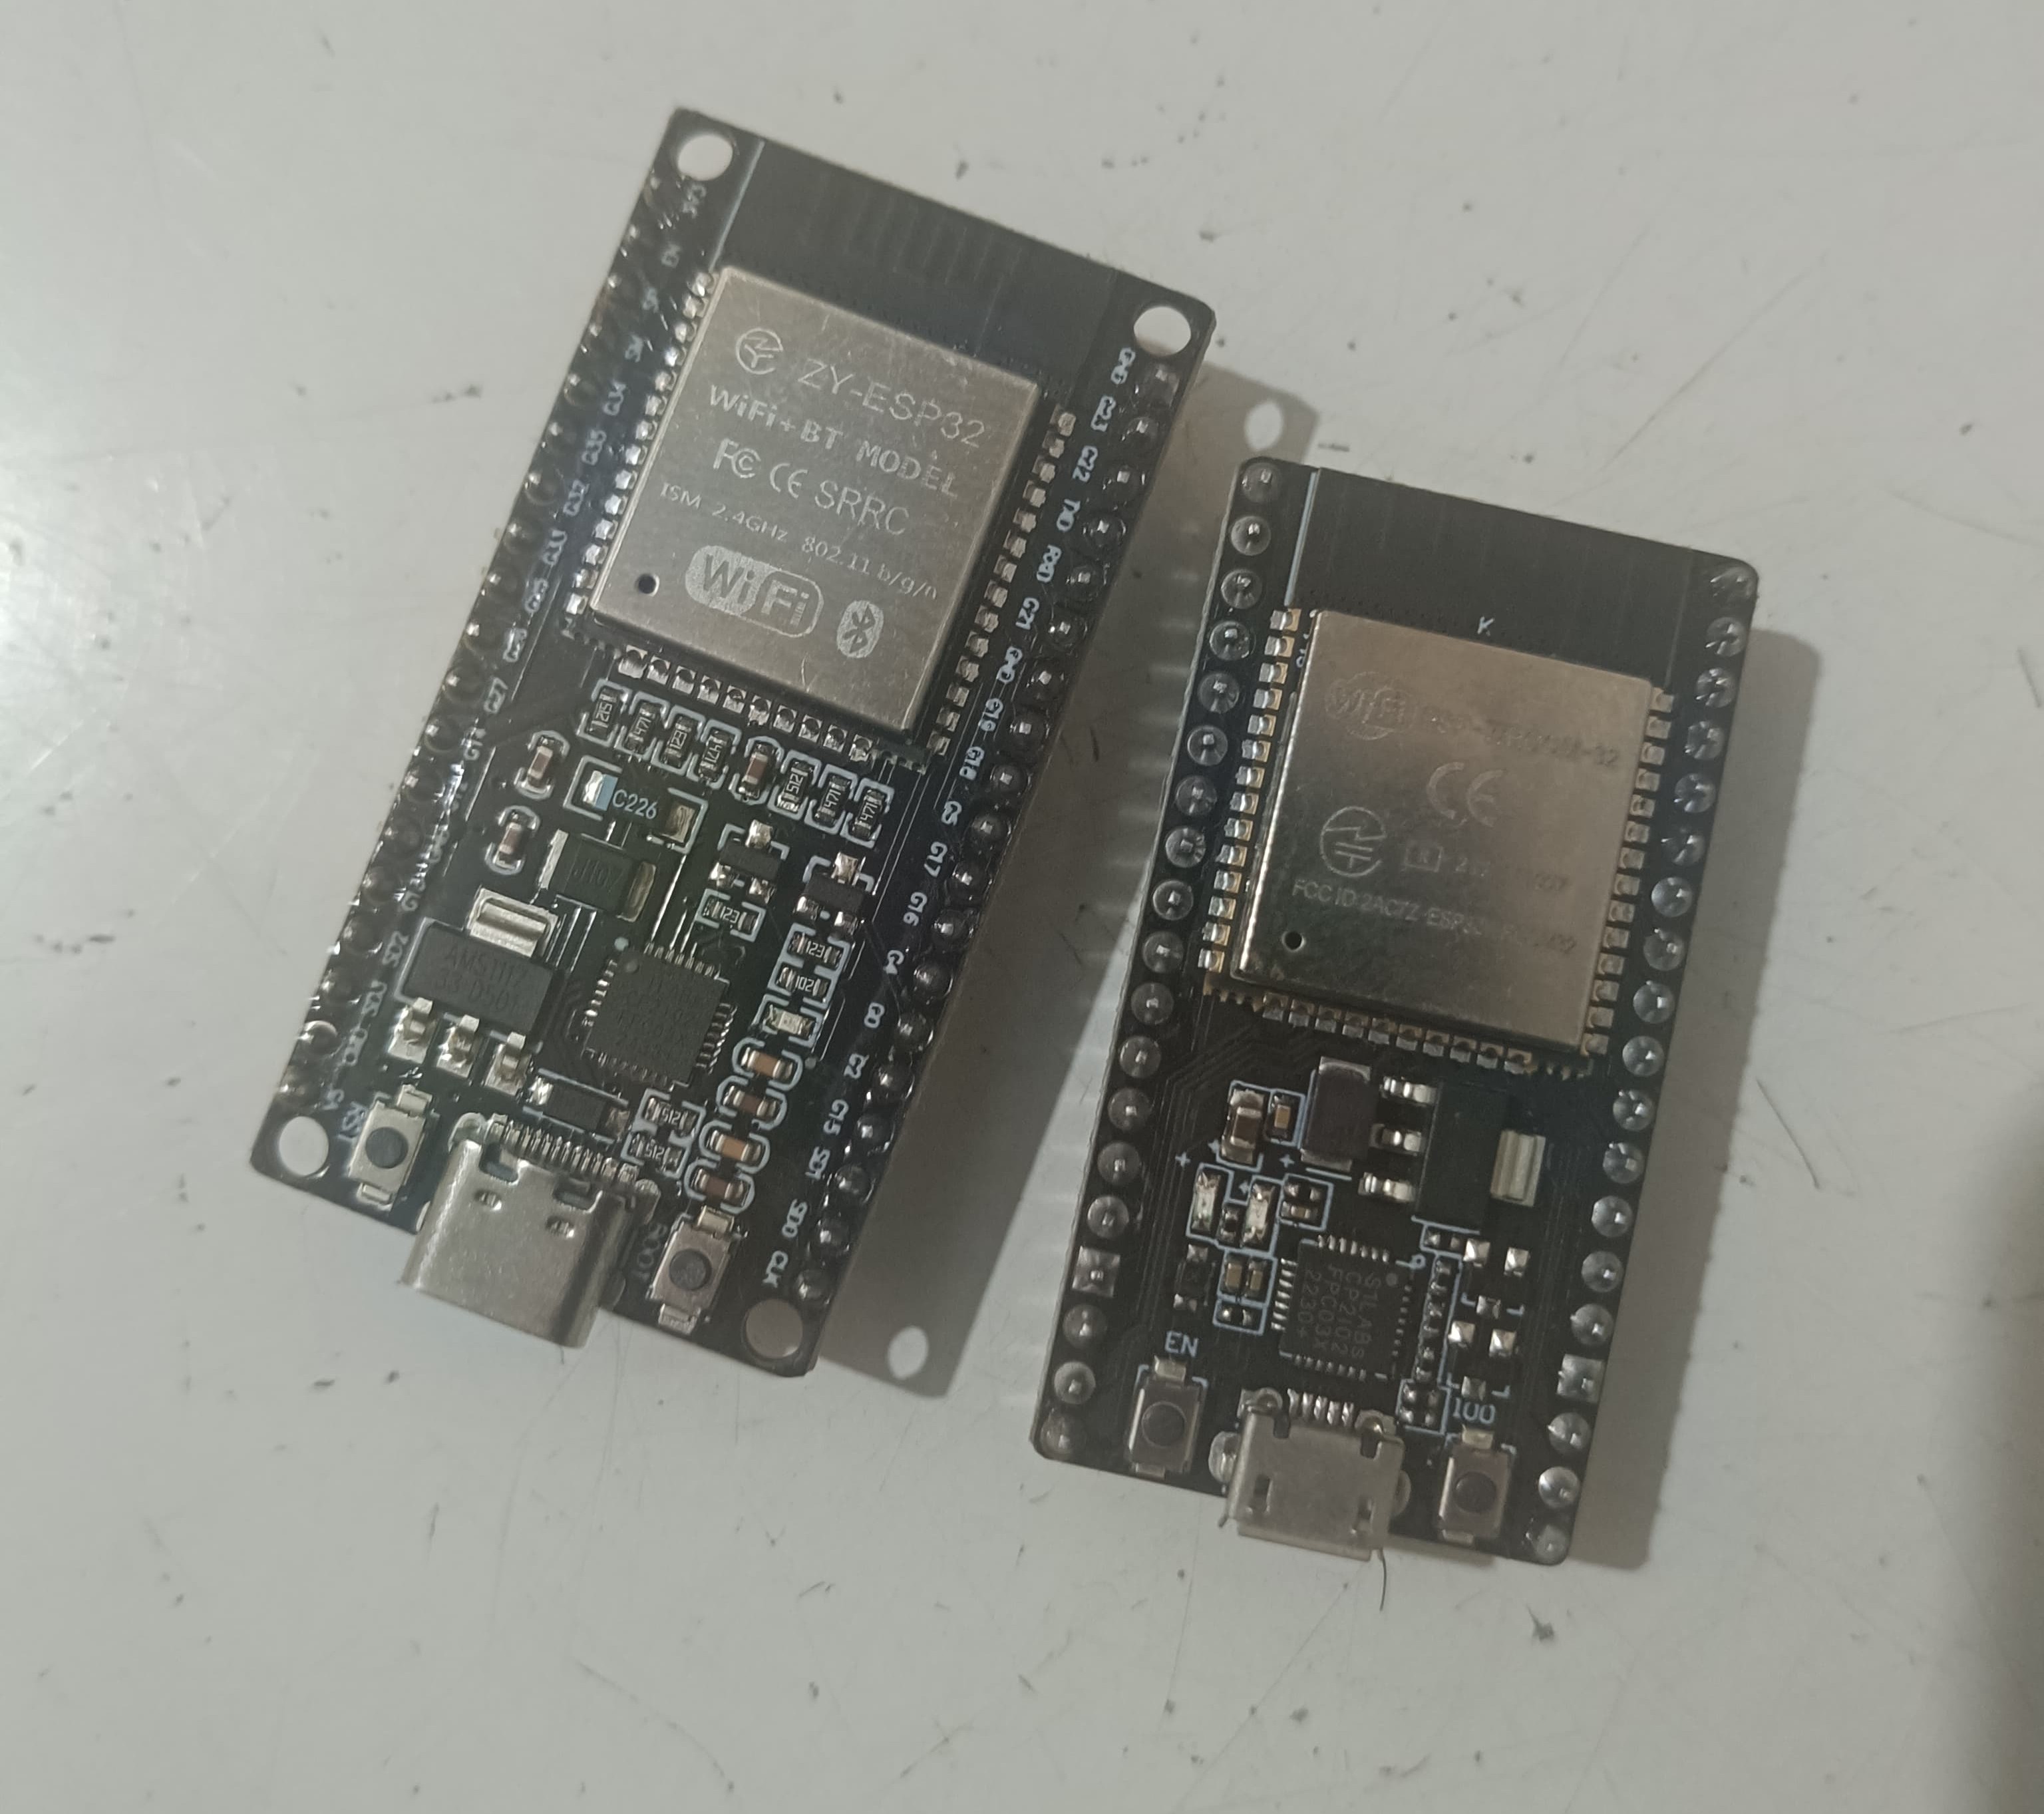
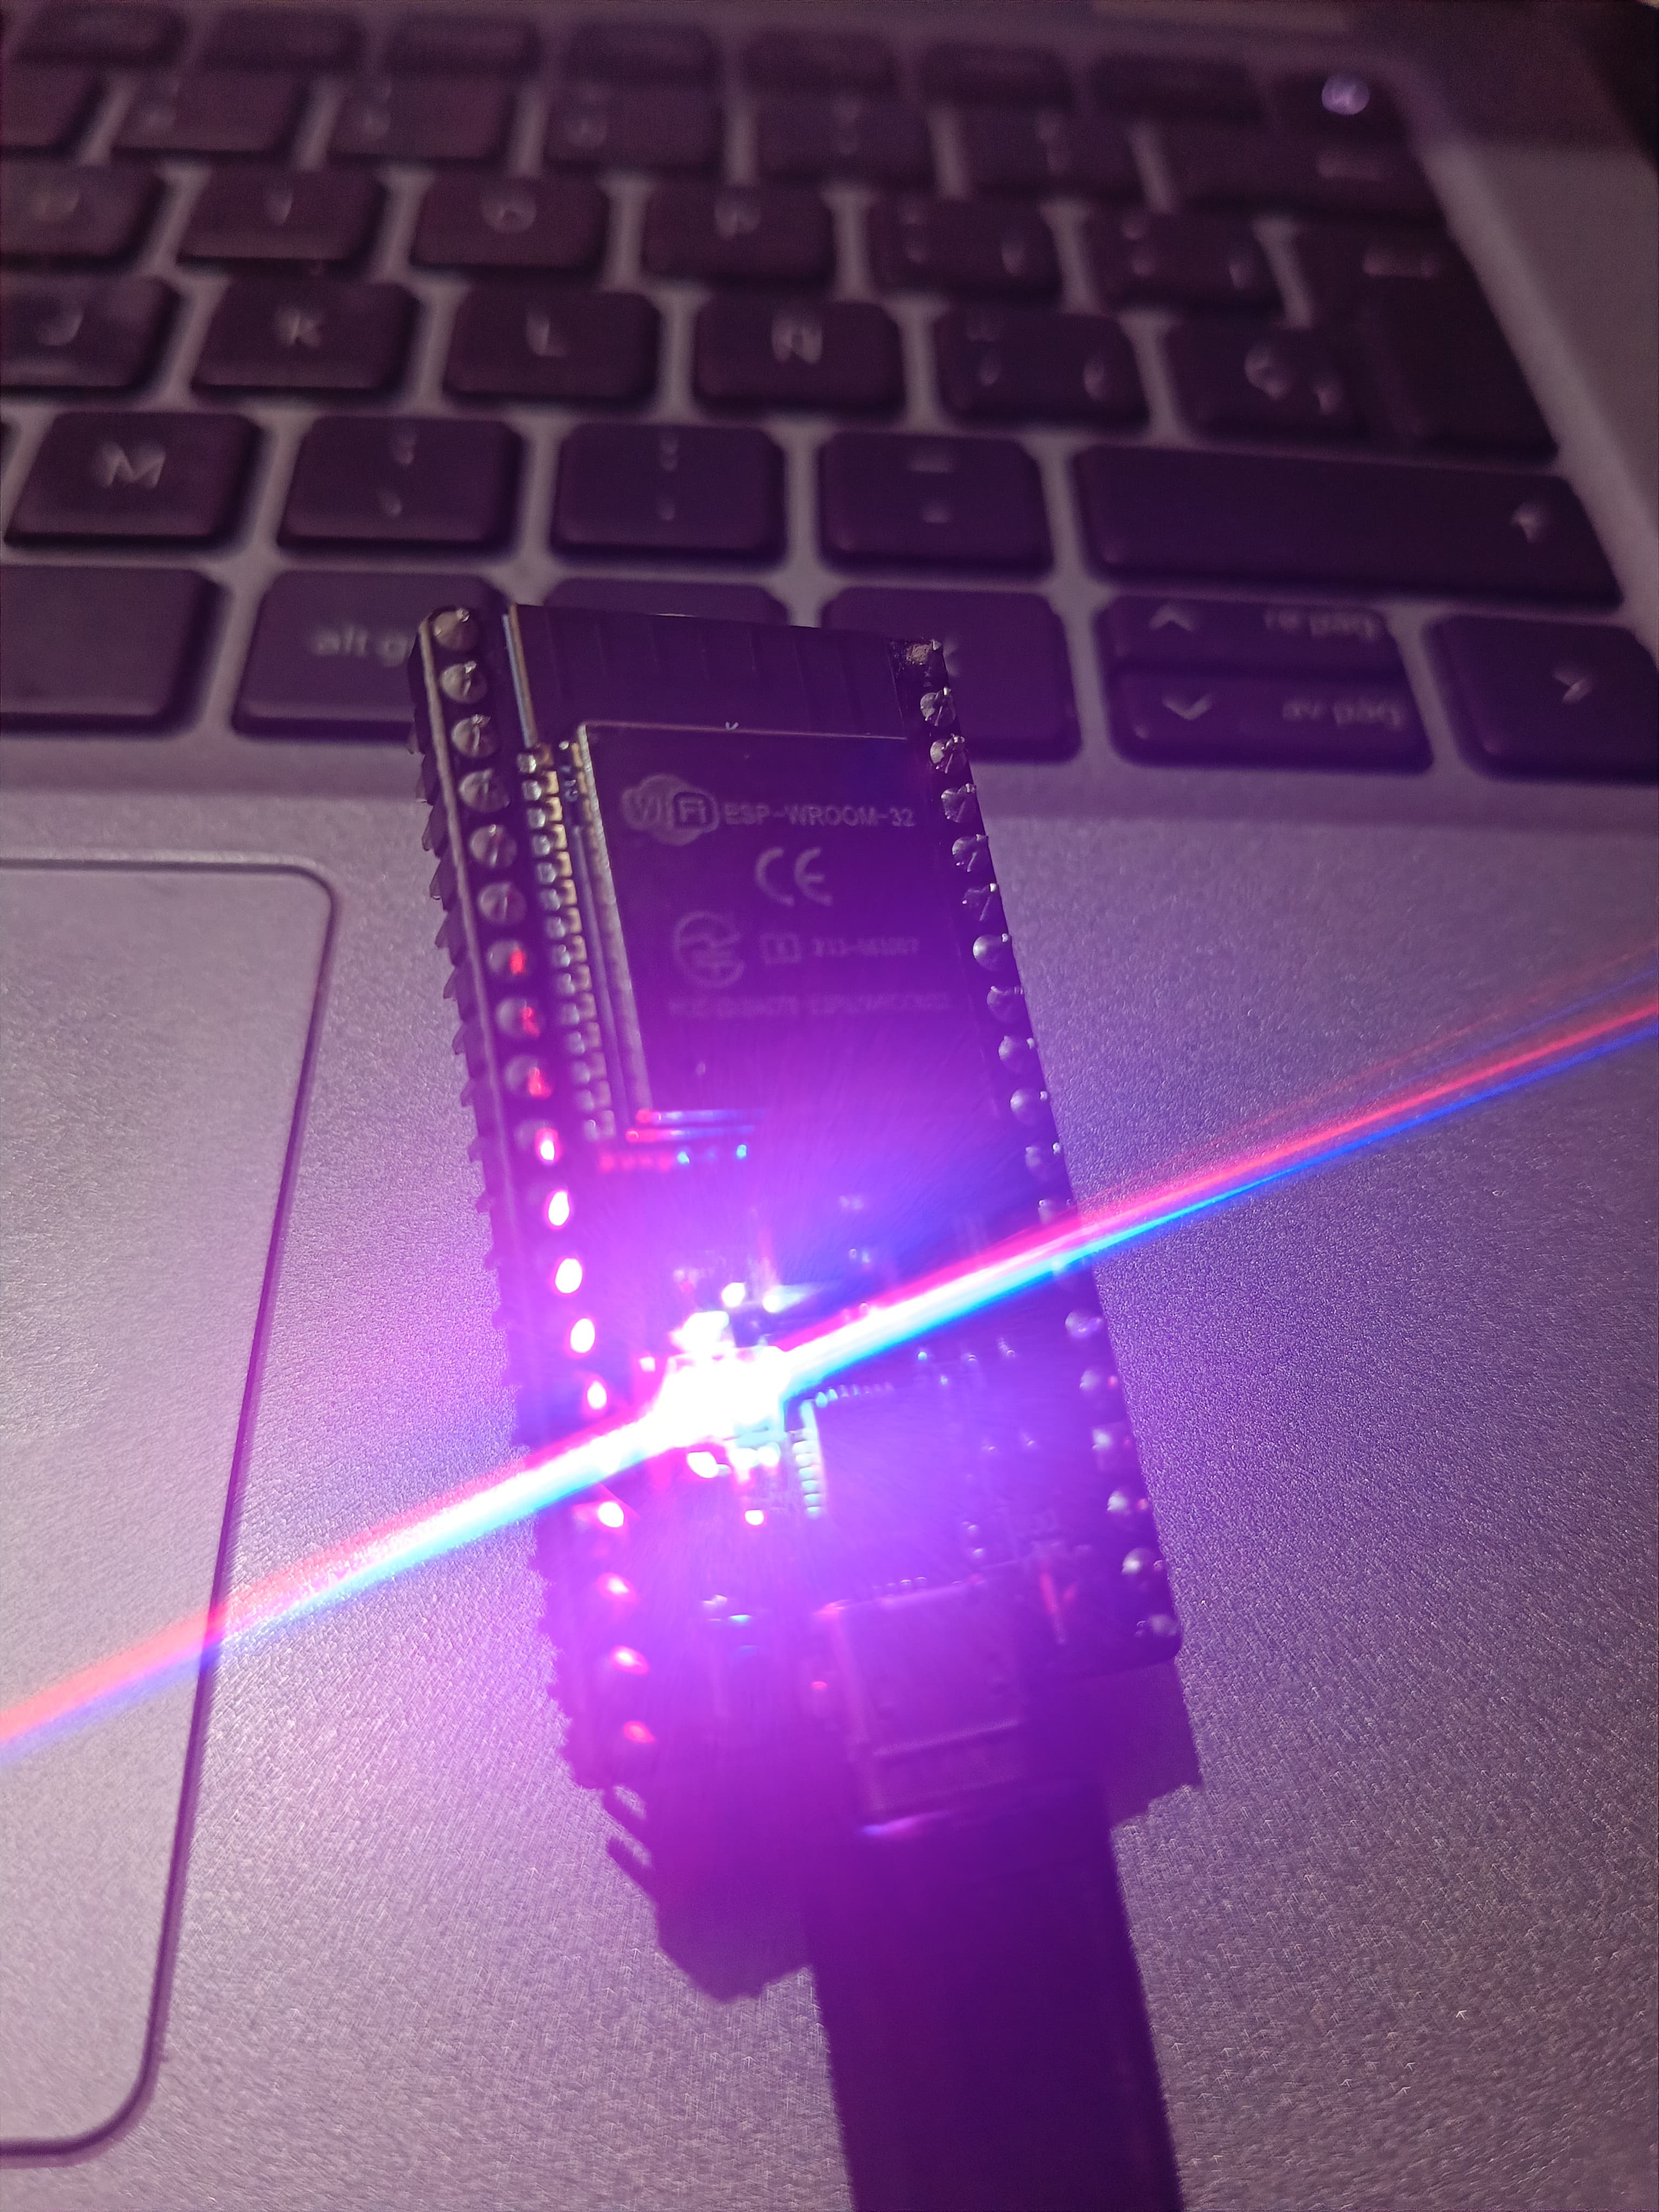
- An ESP32 Development Board
- A Micro-USB cable
- A computer running Windows, macOS, or Linux
- Arduino IDE (the latest version is recommended)
Content is broken down into short, readable paragraphs. Secondary keywords like "ESP32 development board" and "Arduino IDE" are woven in. Bullet points are used to make the list of required components easy to digest.
Step 1: Setting Up the Arduino IDE
Before you can program the ESP32, you need to add support for its board to the Arduino IDE. This is done by adding a URL to the board manager.
- Open Arduino IDE. If you don't have it, download it from the official Arduino website.
- Navigate to File > Preferences.
In the "Additional Board Manager URLs" field, paste the following URL:
https://dl.espressif.com/dl/package_esp32_index.json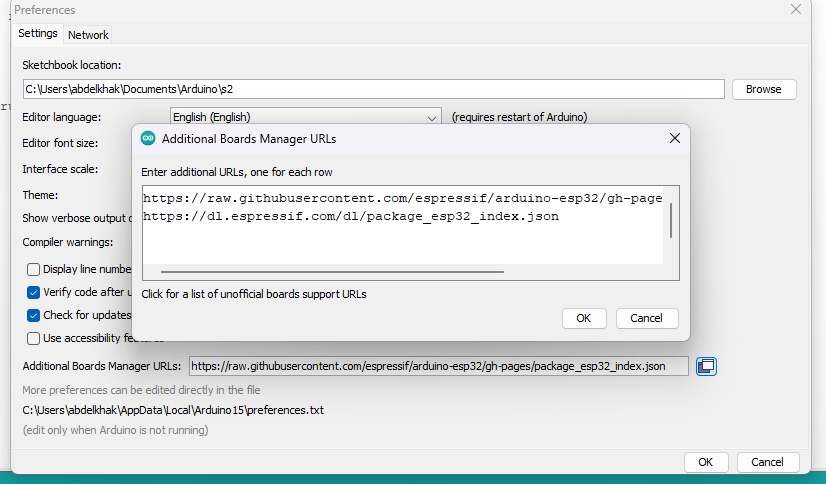
- Click OK.
Go to Tools > Board > Boards Manager...
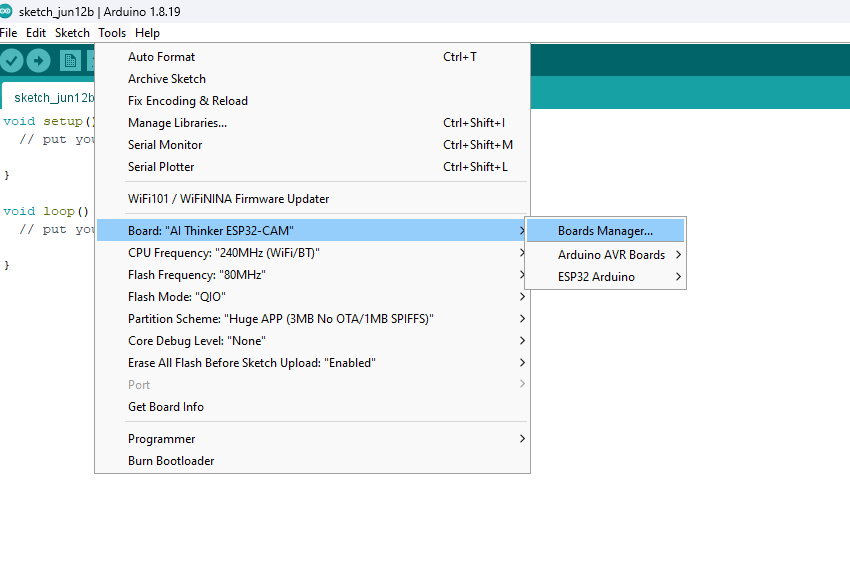
Search for "ESP32" and click Install on the "esp32 by Espressif Systems" package.

This section provides clear, numbered, and easy-to-follow steps for a how-to guide.
Step 2: Programming Your ESP32
With the IDE configured, you are ready to write and upload your first sketch. We will use the classic "Blink" example to test the setup.
Select Your Board and Port
- Connect your ESP32 to your computer using the micro-USB cable.
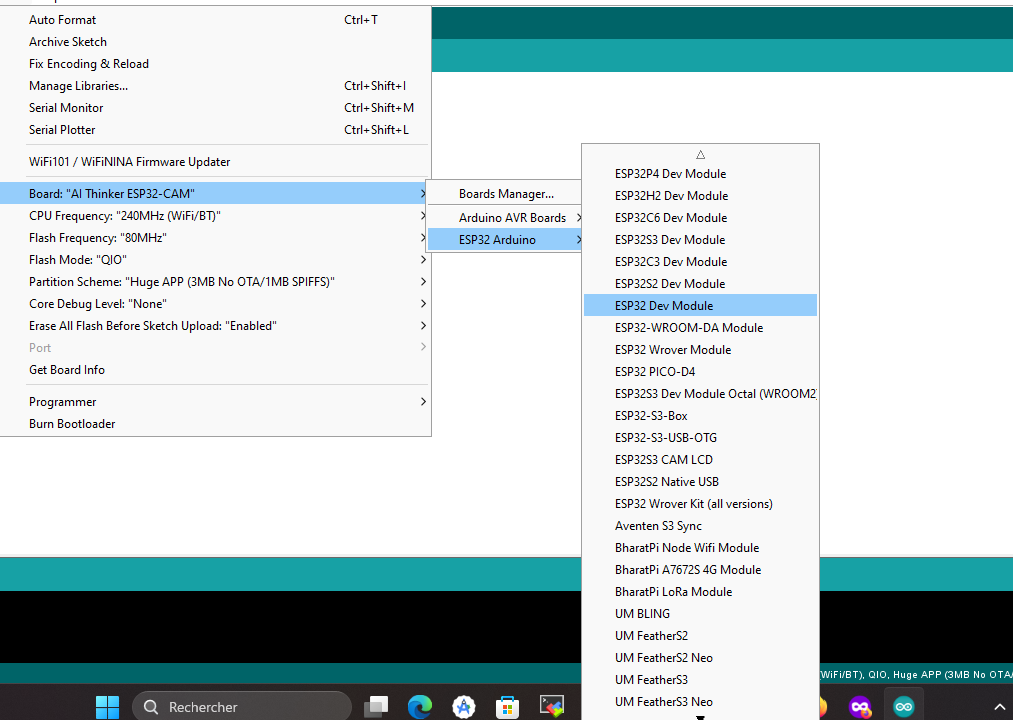
In the Arduino IDE, go to Tools > Board and select your specific ESP32 board model (e.g., "ESP32 Dev Module").
- Go to Tools > Port and select the correct COM port.
The Code
Open a new sketch and paste the following code. This program will make the onboard LED blink on and off.
// Define the on-board LED pin, which is usually GPIO 2 for most ESP32 boards.
#define LED_BUILTIN 2

void setup() {
  // Initialize the digital pin as an output.
  pinMode(LED_BUILTIN, OUTPUT);
}

void loop() {
  digitalWrite(LED_BUILTIN, HIGH);   // Turn the LED on
  delay(1000);                      // Wait for a second
  digitalWrite(LED_BUILTIN, LOW);    // Turn the LED off
  delay(1000);                      // Wait for a second
}
The code is presented in a dedicated block for easy copying. Important: The LED pin can vary between different ESP32 models. If pin 2 doesn't work, check your board's documentation for the correct pin.
Upload the Sketch
Click the Upload button (the right-pointing arrow) in the Arduino IDE. Once the upload is complete, you should see the onboard LED on your ESP32 start blinking.
Expected Outcome
After successfully following these steps, the blue built-in LED on your ESP32 board will blink, turning on for one second and then off for one second, repeatedly. This confirms that your development environment is set up correctly and you can now start building more complex projects. The practical application is a functional development setup for any future ESP32 project.
Troubleshooting
- Problem: Port not visible. If you don't see a COM port, you may need to install the CP210x USB to UART bridge driver.
- Problem: Upload fails. Try holding down the "BOOT" button on your ESP32 board just as the IDE starts the upload process.
Conclusion
This article summarized the main steps for setting up your environment and programming an ESP32. You have now gained the core skill of being able to upload code to your ESP32 board, opening the door to countless electronics and IoT projects.
Comments (0)
No comments yet. Be the first to comment!
Leave a Comment