Arduino GPS Tutorial: Getting Coordinates with the NEO-6MV2
Ever wanted to build a project that knows its exact location on Earth? Integrating a GPS module with an Arduino is the perfect way to start, and the NEO-6MV2 is a fantastic, reliable, and budget-friendly module for the job. This guide will walk you through everything you need to know, from wiring the components to writing the code, to get precise latitude and longitude coordinates for your next location-aware project.
What You'll Need: Components & Tools
Getting this project up and running requires just a few common electronics components. There's a good chance you already have everything you need.
- An Arduino Board: Any standard Arduino will work, such as the Arduino UNO.
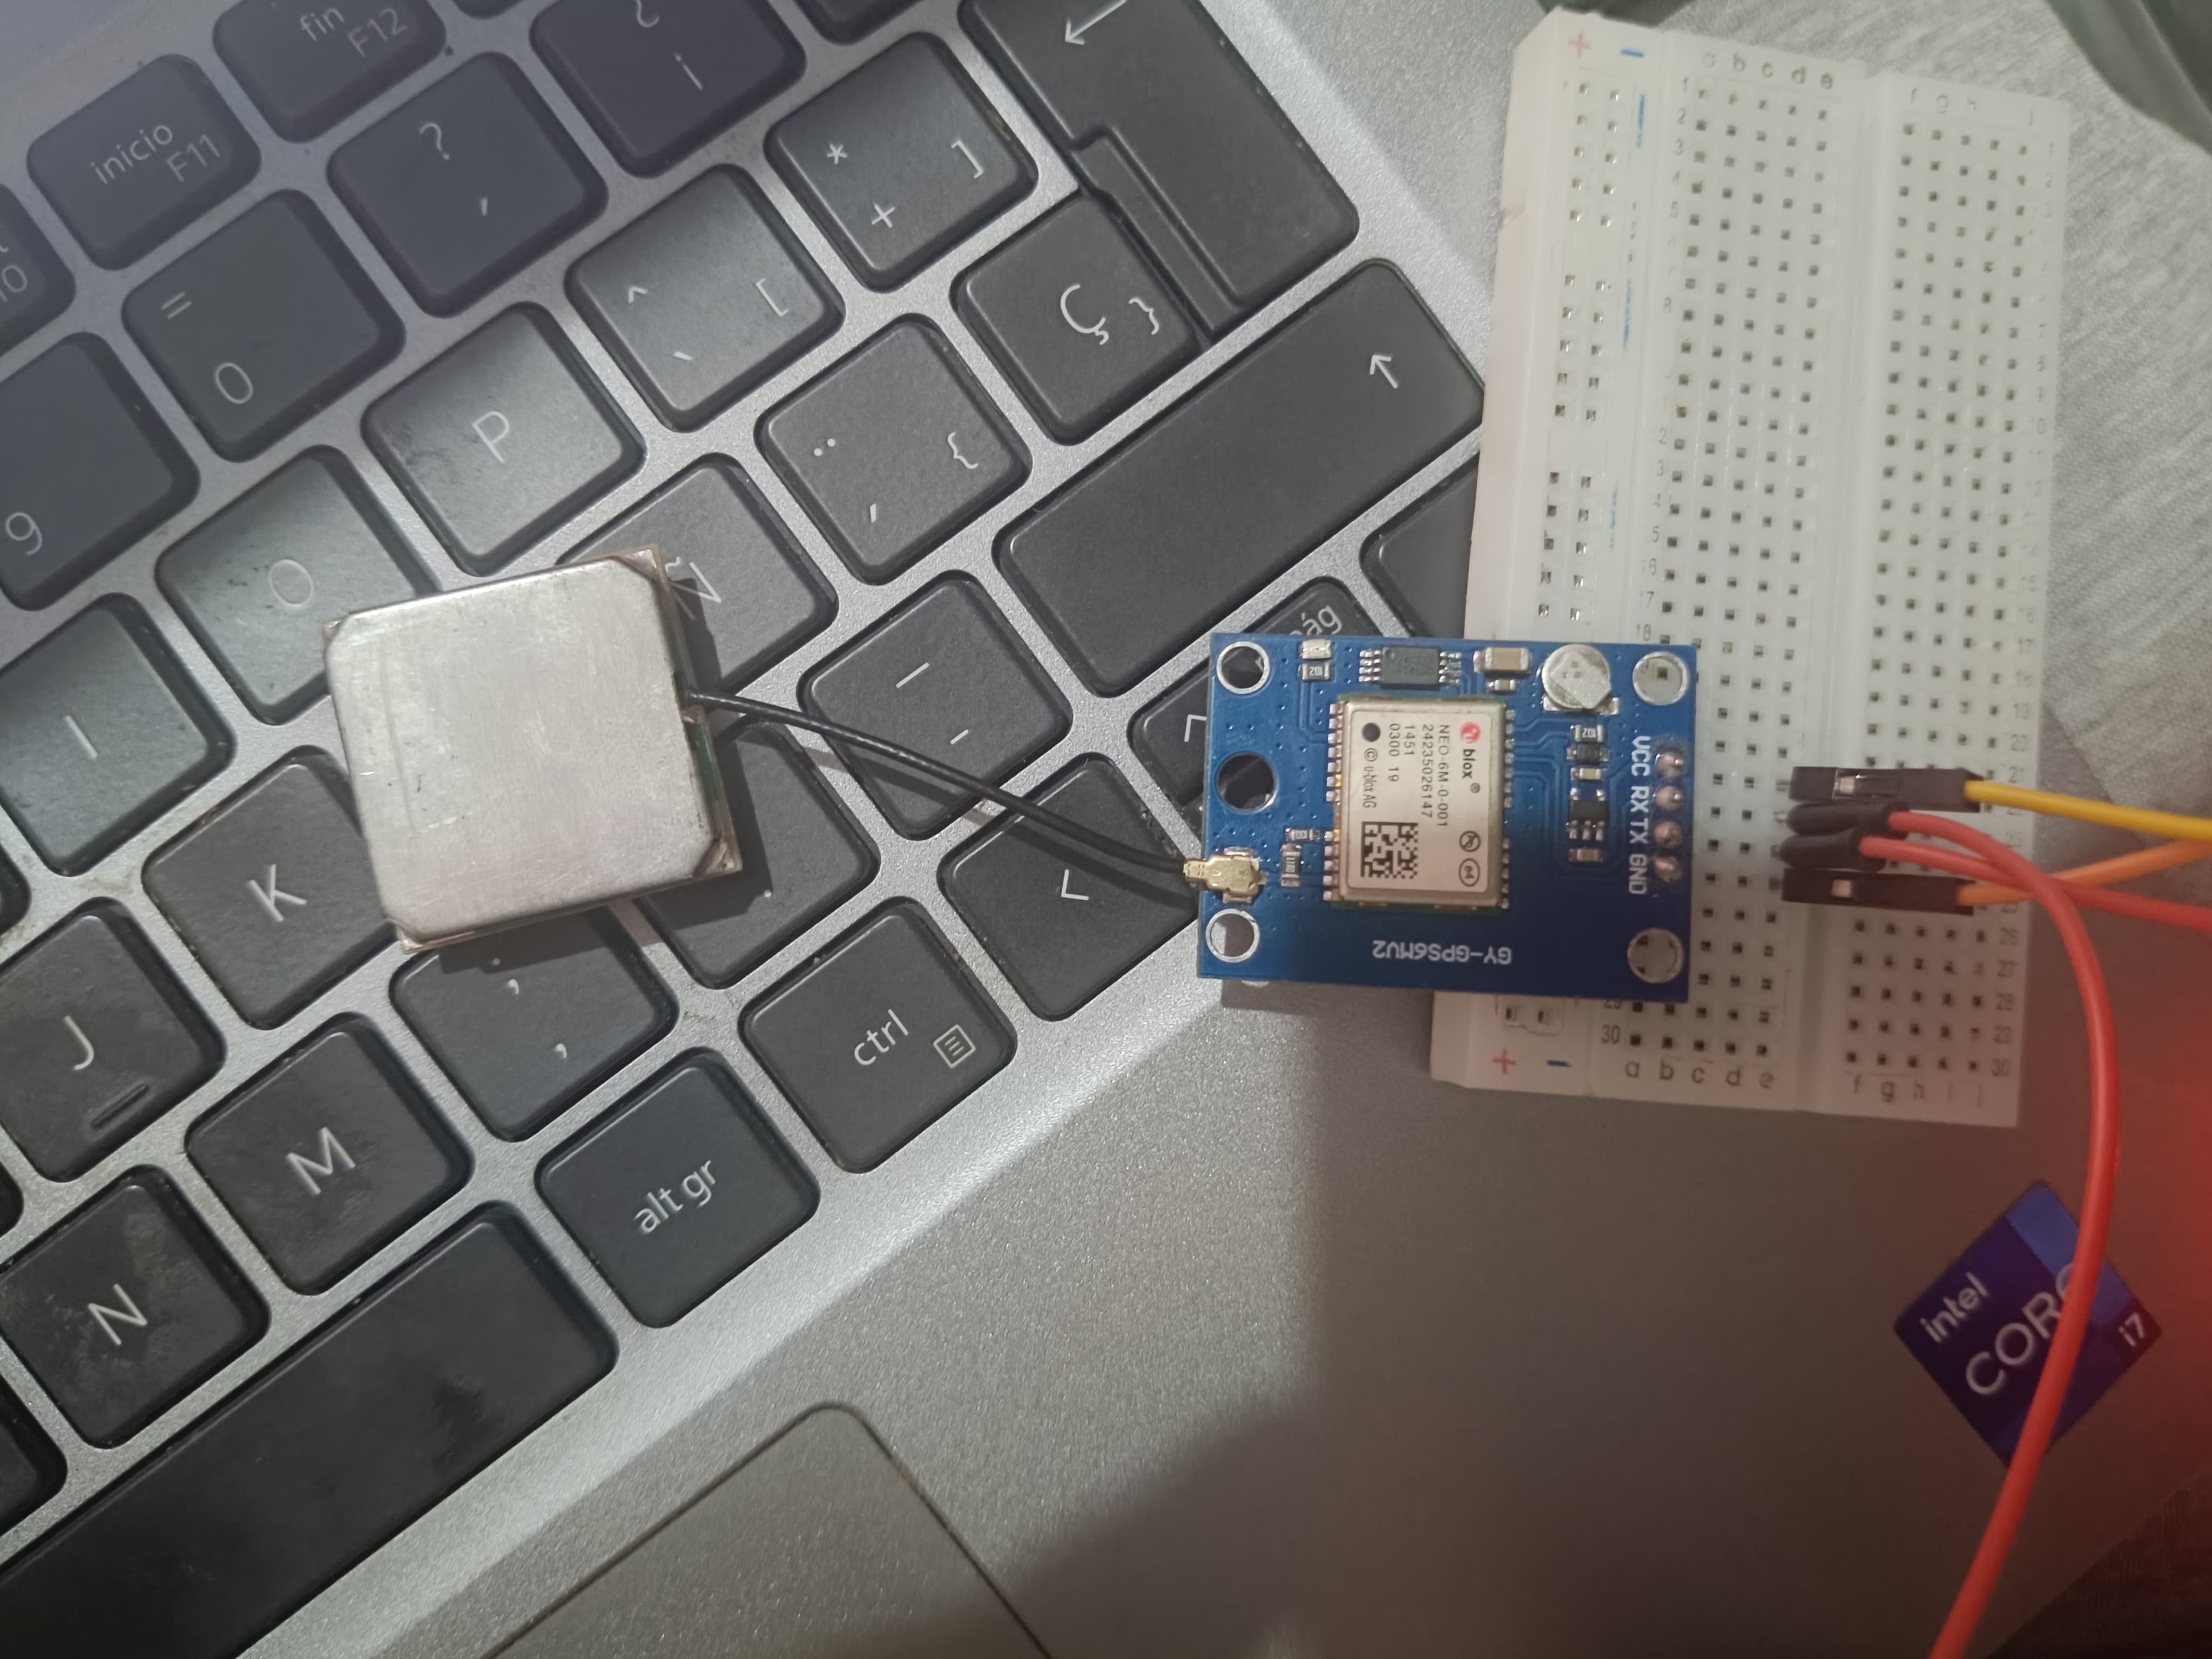
- GPS Module: We are using the GPS Module NEO-6MV2 for this tutorial.
- Jumper Wires: To connect the module to your Arduino.
Wiring It Up: Circuit Connections
Connecting the NEO-6MV2 to your Arduino is simple. The module communicates over a serial connection, so we only need four wires. Use the table below to connect the pins correctly.
| NEO-6MV2 Pin | Arduino Pin | Purpose |
|---|---|---|
| VCC | 5V | Power |
| GND | GND | Ground |
| TX | Digital Pin 2 | Transmit (Data Out) |
| RX | Digital Pin 3 | Receive (Data In) |
The Code: Reading GPS Data
The magic happens with the code. We'll use two essential Arduino libraries: SoftwareSerial to create a secondary serial port for the GPS, and TinyGPS++, a powerful library that does the heavy lifting of parsing the complex data stream from the module.
Installing the Libraries
Before you upload the code, make sure you have TinyGPS++ installed. You can find it in the Arduino IDE's Library Manager (Sketch > Include Library > Manage Libraries...). SoftwareSerial comes included with the Arduino IDE.
Detailed Code Explanation
Here is the complete sketch. Copy and paste it into your Arduino IDE.
/*
  Arduino GPS Tutorial with NEO-6MV2
  Reads latitude and longitude and prints them to the Serial Monitor.
*/

// This library allows us to use other digital pins for serial communication.
#include <SoftwareSerial.h>
// This powerful library decodes the GPS data for us.
#include <TinyGPS++.h>

// Create a serial connection for the GPS module on pins 2 (RX) and 3 (TX).
SoftwareSerial gpsSerial(2, 3);

// Create a TinyGPS++ object to handle the GPS data.
TinyGPSPlus gps;

void setup() {
  // Start serial communication with the computer for displaying output.
  Serial.begin(9600);

  // Start serial communication with the NEO-6MV2 module.
  // The default baud rate for most NEO-6M modules is 9600.
  gpsSerial.begin(9600);

  Serial.println("GPS Passthrough Test");
  Serial.println("Waiting for GPS signal...");
  Serial.println("----------------------------------------------------");
}

void loop() {
  // This loop continuously checks for new data from the GPS module.
  while (gpsSerial.available() > 0) {
    // Feed the incoming data to the TinyGPS++ object.
    if (gps.encode(gpsSerial.read())) {
      // Check if the location data has been updated.
      if (gps.location.isUpdated()) {
        // Print the new coordinates to the Serial Monitor.
        Serial.print("Latitude: ");
        Serial.println(gps.location.lat(), 6); // 6 decimal places for precision
        Serial.print("Longitude: ");
        Serial.println(gps.location.lng(), 6);
        Serial.println("----------------------------------------------------");
      }
    }
  }
}
What to Expect: The Final Result
Once you've uploaded the code, open the Arduino Serial Monitor (Tools > Serial Monitor) and set the baud rate to 9600.
First, you'll see the "Waiting for GPS signal..." message. After a few moments, once the NEO-6MV2 module locks onto enough satellites, you will see your latitude and longitude coordinates appear, updating every second.
Troubleshooting & Advanced Tips
- Problem: My Serial Monitor is blank or shows garbled text.
- Solution: Double-check that the baud rate in the bottom-right of your Serial Monitor is set to 9600 to match the
Serial.begin(9600)command in the code.
- Solution: Double-check that the baud rate in the bottom-right of your Serial Monitor is set to 9600 to match the
- Problem: It's stuck on "Waiting for GPS signal..."
- Solution: This is the most common issue. GPS signals are weak and can't penetrate roofs. You must take your project outside to a location with a clear, unobstructed view of the sky. The first time you use the module (a "cold start"), it can take several minutes to get a satellite lock.
- Advanced Tip: The
TinyGPS++library can provide much more than just location! You can easily get the altitude, speed, date, time, and the number of satellites being tracked. Explore the library's examples in the Arduino IDE to unlock the full potential of your NEO-6MV2 module.
Conclusion
Congratulations! You've successfully connected a NEO-6MV2 GPS module to your Arduino and retrieved real-time location data. This fundamental skill is a gateway to countless exciting projects, from building a vehicle tracker to creating a geocaching device or a weather balloon that reports its position.
Have questions or a cool idea for a GPS project? Share it in the comments below!
If you found this tutorial helpful, please consider sharing it with others. For your next step, check out our guide on [How to Log GPS Data to an SD Card].
Frequently Asked Questions (FAQ)
- Question 1: What is the accuracy of the NEO-6MV2 module?
- Answer 1: Under ideal conditions with a clear sky view, the NEO-6MV2 typically provides an accuracy of around 2.5 meters.
- Question 2: Does the antenna need to be pointed in a specific direction?
- Answer 2: The small ceramic patch antenna on the NEO-6MV2 is designed to face upwards towards the sky for the best reception.
- Question 3: Can I use this project with a battery?
- Answer 3: Absolutely! You can power your Arduino and the GPS module with a suitable battery pack (like a 9V battery or a USB power bank) to make your project fully portable.
Comments (0)
No comments yet. Be the first to comment!
Leave a Comment